Now that you have purchased your kitchen cabinet from Cabinet Champ, it’s time to move on to the next big step – installing it in your kitchen. While most homeowners prefer hiring a professional for this task, DIY isn’t all that hard if you have the required apparatus and know how to do this. The most critical step is taking the measurements and marking the location of installation. If you can do this, the rest is quite simple.
In order to install your kitchen cabinets, you will need the following items listed below:
- Pencil
- Level or Laser Level
- Drill
- Tape Measure
- Stud Finder
- Clamps
- 1" x 3" Piece of lumber
- Shims
- Screws
- Utility knife or chisel
- Marking Compass
1. The process starts with assembling the cabinet. If you are not good with this, you may buy a pre-assembled. If you have a ready-to-assemble, or RTA, cabinet join together all the parts as instructed.

2. After assembling the cabinets, you are ready to start marking the layout lines. You may start with the base or wall cabinet. But here, we will start with the wall cabinet.
3. Draw a level horizontal line on the wall, 34 ½” inches up from the floor. Use your level and a pencil for this. Measure out the size of your first cabinet, and from the line make a mark down to the floor. Repeat this for all your base cabinets.

4. Find the wall studs using a stud finder and mark a point which is 6 inches above and below the bottom of the cabinet. Join the top and bottom marks using a straight line, this indicates the center of the stud.

5. Screw a 1’ x 3’ temporary support rail to the wall. The top edge of the rail should align with the bottom edge of the cabinet. Fix the rail into the studs using screws.

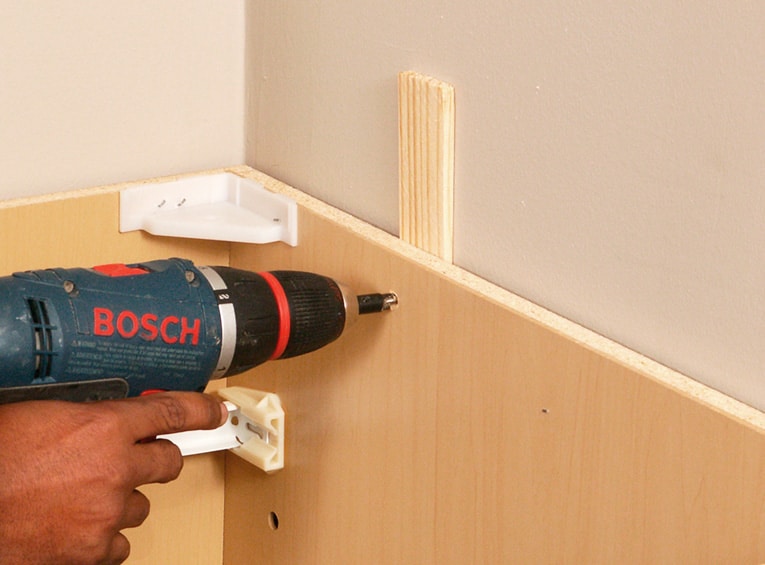
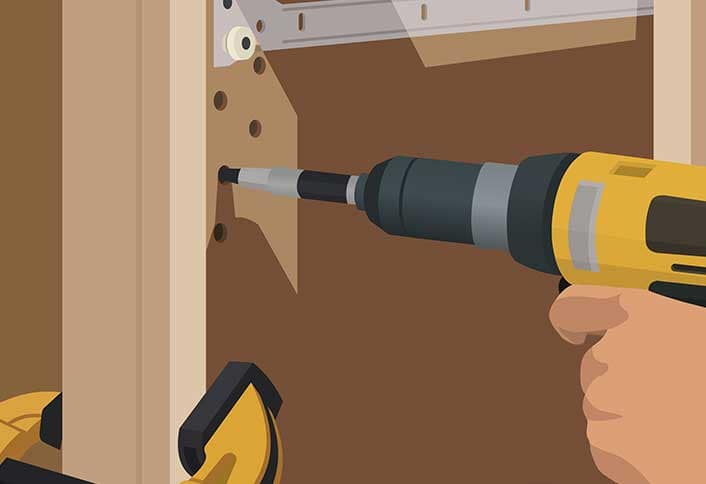
6. Now when all the lines are marked, it’s time to install your cabinets. We will start with the corner cabinet first. Place the cabinet on the support rail and ask someone to hold it in position. Using the drill make a hole through the support rail and into the wall studs. Fix the corner cabinet lightly as we’ll work on it later on.

7. Now it’s time to install the cabinets on the either side of the corner cabinet. Before you decide the exact location, make sure the drawers of any cabinet don’t collide with other cabinets. For face-frame cabinets, drill two 1/8 inch holes through the sides of the frame and use screws to fix the cabinets together. In case of frameless cabinets, screw through the plywood sides and use shims to ensure the cabinets are tightly fixed.

8. Once all cabinets are installed, it is time to go back to the corner cabinet and install it permanently. Make sure all cabinets are in alignment with each other. If needed use shims in the front or back to adjust the height, and then fix it to the wall studs using screws.

9. If two cabinets are butting against one another, use a filler strip. To install the filler strip, leave the second cabinet detached and clamp a straightedge to the face of the first cabinet. Remove any excess filler with a utility knife or chisel.

10. Once your base cabinets are installed, repeat these steps to properly install your wall cabinets.
Now your installation is finished, and your kitchen cabinets are ready for use. However, make sure the cabinets are fixed tightly to the wall and are in alignment with each other. If needed, use a few pieces of shims to fill the gaps.
So this is an easy-to-follow guide to install your kitchen cabinet. But it all starts with buying the best quality solid wood kitchen cabinets. Explore the variety of top quality cabinets on our website and choose the one that suites you best. If you have any trouble with your kitchen design or installation, feel free to Contact Us. We are here to help you.


